2021/07 更新:更新至 icarus 4.0.3
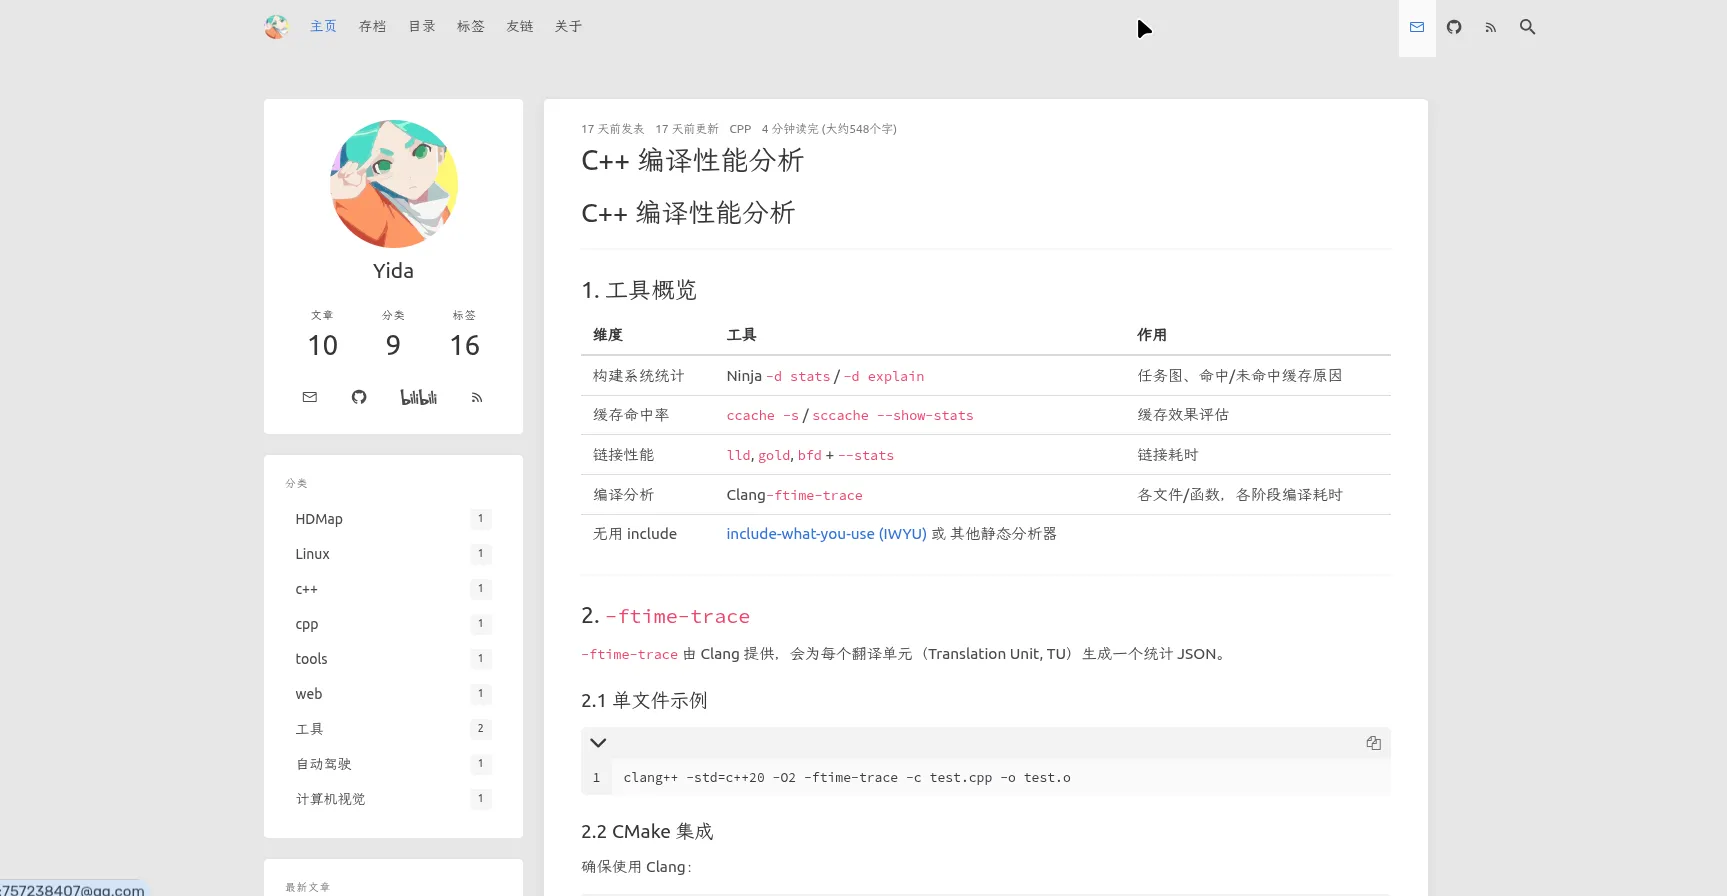
2025/10 更新:本站已迁移至 Astro 框架,原 Icarus 效果可见本帖附图
基本修改
基本修改,比如网站图标,评论区,rss,看板娘之类的很多地方都有提过,这里就不说了。
大都是修改 _config.icarus.yml 文件, 总之在 icarus\include\schema 中列出的都是能能在 _config.icarus.yml 修改的。比如有:
- 网站图标 favicon
- 导航栏
- footer 上的图标
- 评论区插件
- rss 订阅插件
- 看板娘插件
- 个人信息
- 布局
- cdn、字体 cdn、图标 cdn
经过我个人的测试,cdn 用 jsdelivr ,fontcdn 我用谷歌的 fonts.font.im ,iconcdn 我用的是阿里 iconfont 。图标需要先在网页上选择需要用到的图标,再生成的对应的 css。然后主题文件夹全文搜索 fab 和 fas,把所有图标改成 iconfont xxxxx 之类的。当然如果你不想自定义,直接按官方文档来就行了,省事。
providers:
    cdn: jsdelivr
    fontcdn: 'https://fonts.font.im/${type}?family=${fontname}'
    iconcdn: 'https://at.alicdn.com/t/font_XXXXXXXX.css'
添加备案号
服务器在国内,那在 footer ( 就是博客最下面那一栏 ) 加个备案号自然非常重要了。
icarus\layout\common\footer.jsx
在 return 里面根据个人喜好选择添加位置,我就加在了 powered by hexo 下面。
<p class="size-small">
<span dangerouslySetInnerHTML={{ __html: `© ${siteYear}${author || siteTitle}` }}></span>
Powered by <a href="https://hexo.io/" target="_blank" rel="noopener">Hexo</a> &
<a href="https://github.com/ppoffice/hexo-theme-icarus" target="_blank" rel="noopener">Icarus</a>
</br><a href="http://beian.miit.gov.cn/" target="_blank">粤 ICP 备 xxxxxxx 号</a>
{showVisitorCounter ? <br /> : null}
{showVisitorCounter ? <span id="busuanzi_container_site_uv"
dangerouslySetInnerHTML={{ __html: visitorCounterTitle }}></span> : null}
</p>加宽正文布局
修改 icarus/include/style/base.styl 里面,以下为本博客的配置
$gap ?= 64px
$tablet ?= 1104px
$desktop ?= 1400px
$widescreen ?= 1600px
$fullhd ?= 1920px
自定义 js
在 icarus\source\js\ 下创建 custom.js 文件,然后在 icarus\layout\common\scripts.jsx 的 return 里面加上
<script src={url_for ( '/js/custom.js' )} defer={true}></script>自定义 css
在 icarus\source\css\ 下创建 custom.styl 文件,然后在 icarus\source\css\style.styl 里面加上
@import './custom'然后在 custom.styl 中 ( 读者各取所需 ) :
// 加个背景图片
.is-2-column {
    background-image: url ( https://res.lolicon.app/bilibili/bg_small.png ) ;
    background-position: center center;
    background-repeat: no-repeat;
    background-attachment: fixed;
    background-size: cover;
    // background-color: #E6E6E6;
}

// 给 widget 加点透明
.widget {
    background-color: #ffffffcf;
}

// 单独设置目录 widget 的 sticky 属性,让它不会滚动消失。
# toc {
    align-self: flex-start;
    position: -webkit-sticky;
    position: sticky;
    top: .75rem;
}

// 左侧栏重新设置一下大小
@media screen and ( min-width: 1104px ) , print {
    .column.is-4, .column.is-4-tablet, .is-4-desktop, .is-4-widescreen {
        width: 30%
        max-width: 25rem;
    }

    .column.is-8, .column.is-8-tablet, .is-8-desktop, .is-8-widescreen {
        width: 70%;
    }
}

// 左侧栏重新设置一下大小
.article {
    margin-right: 16px;
    margin-left: 16px;
    .content a img {
        margin: auto;
        display: block;
    }
}

// 以下为本站样式
.navbar, .footer {
    background-color: #E6E6E6;
}

.navbar-main, .card.widget {
    box-shadow: none;
}

@media screen and ( max-width: 1399px ) , print {
    .navbar-menu {
        background-color: #E6E6E6;
    }
}

.card {
    border-radius: 10px;
    box-shadow: 0px 4px 8px rgba ( 0,0, 0,0.04 ) , 0px 0px 2px rgba ( 0,0, 0,0.06 ) , 0px 0px 1px rgba ( 0,0, 0,0.04 ) ;
}

.tags.has-addons .tag: not ( : first-child ) {
    box-shadow: 0px 4px 8px rgba ( 0,0, 0,0.06 ) , 0px 0px 2px rgba ( 0,0, 0,0.08 ) , 0px 0px 1px rgba ( 0,0, 0,0.06 ) ;
}
评论区
本站评论区使用的是 waline ,可参考官方文档和 Icarus 用户指南 - 用户评论插件 。
要注意的是,waline 会把 xxx.cn/a/ 和 xxx.cn/a 和 xxx.cn/a/index.html 视为不同的文章,如果 B 用户评论在第一个地址,那么访问后面两个地址时候是看不到 B 用户的评论的。 解决方法 。
本站路由不会出现 xxx.cn/a 的情况,但是存在 xxx.cn/a/ 和 xxx.cn/a/index.html,解决如下 ( 需要 hexo-component-inferno >= 1.1.0,旧版本没有提供接口,自行去 node_modules\hexo-component-inferno\lib\view\comment\waline.js 中修改 ) :
comment:
    type: waline
    path: location.pathname.endsWith ( '/index.html' ) ?location.pathname.substring ( 0, ( location.pathname.lastIndexOf ( '/' ) +1 )) : location.pathname
    # 后面略
完工!

( 再附加点小内容 )
在 vscode 中写博客
推荐以下插件: Markdown All in One
Markdown Paste ( 复制文字的时候,他可以较好地保留网页文字格式 )
Paste Image ( 和上一个差不多,仅有粘贴图片功能 )
PicGo ( 强推,图片还是放图床好点 )
markdownlint ( 检查 markdown 格式 )
hexo 中博客开头都有一个 header,博主我用 vscode 的 snippets 来自动生成这段 header,将下面的配置加入到 user snippets 中的 markdown 就行了
"Generate Hexo blog header": {
    "prefix": "hexo header",
    "body": [
        "---",
        "title: ${1: title}",
        "pubDatetime: $CURRENT_YEAR-$CURRENT_MONTH-$CURRENT_DATE $CURRENT_HOUR:$CURRENT_MINUTE:$CURRENT_SECOND",
        "categories: ${2: categories}",
        "tags: [${3: tags, tags, ...}]",
        "toc: true",
        "---",
        "${4: introduction}",
        "<!-- more -->",
        "${5: body}"
    ],
    "description": "hexo header"
}
友链的自动生成
效果可参考本博客友链页面,99.9% 的代码都参考 ( 抄自 ) https://github.com/Candinya/Kratos-Rebirth 主要修改点:
- 用一个_friends.yml 文件来管理友链
- 样式微调
都看到这一步了,想必读者有一定的能力了,有问题肯定能自己的解决的啦!
首先在 icarus/include/util 下创建 friends.js 文件,代码有点长,放 gist https://gist.github.com/kuzen/d232e53e887e5f3771cded567ed28ad9。
然后给 icarus/script/index.js 最后加上:
hexo.extend.generator.register ( 'friends', require ( '../include/util/friends' ) ( hexo )) ;然后新建 _friends.yml 中加上下面一段
friends:
    href: "friends"
    page:
        title: "友链"
        comments: false
        description: "扩列~"
        updated: "2021-12-06"
    list:
    -   name: "xxx 的博客 1"
        bio: "一句话介绍自己吧"
        avatar: "https://xxxxxxx/xxxxxx.jpg"
        link: "https://xxxxx.xxx"
    -   name: "xxx 的博客 2"
        bio: "一句话介绍自己吧"
        avatar: "https://xxxxxxx/xxxxxx.jpg"
        link: "https://xxxxx.xxx"
就可以啦!
部署
部署途径有很多,比如
- github page
- 自行搭建
- 各云服务提供商的静态网站托管
- 对象存储 COS ( 注意腾讯云需要先购买备案资源包才能备案 )
本站使用腾讯云对象存储,部署时用持续继承自动上传到 cos。或者用 hexo 的插件,如 腾讯 cos 部署插件